Setting up a Reg.CA Email Account in Mac Mail
The screenshots below are from Mac OS X Leopard (10.5) and above.
For previous versions of Mac Mail (OS 10.0-10.4), click here.

Start Mac Mail. Depending on your version, it may have an icon like this:


If this is your first mail account, the Welcome to Mail dialog (below) should come up and you can skip to the next step.
Otherwise, under the Mail menu, select Preferences, then select the "Accounts" (@) tab, then click the Plus sign (+) symbol in the lower-left corner to add an account.

A dialog similar to this should come up:

Enter the Full Name you'd like to appear in the "From" line of your emails, then your full Email Address and Password, and click Continue.


Make sure the Incoming Mail Server Account Type is POP, put the Incoming Mail Server as 
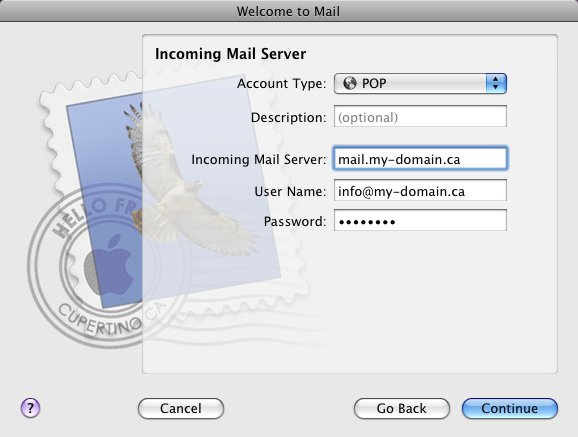
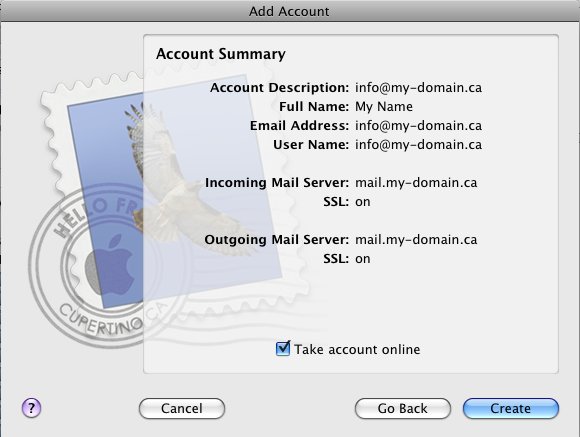
mail.my-domain.ca (substitute your domain name). Your User Name and Password should be your full email address and password, as on the first screen. Click Continue. (It may take a while when "Checking connection to mail server". This is annoying, but normal).


On the Incoming Mail Security page, make sure Authentication is set to Password, then click Continue.


On the Outgoing Mail Server page, set the Outgoing Mail Server to be 
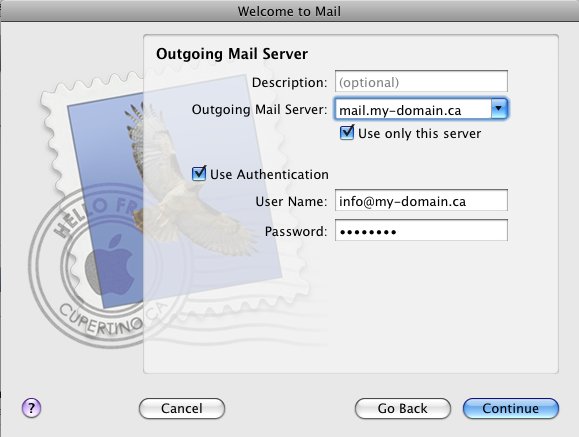
mail.my-domain.ca (substitute your domain name), and check off "Use Authentication". Click Continue.
It may take a while "Checking connection to mail server" (You can skip this by clicking Cancel once to skip the check, then Continue to proceed).
If you get a message like this "The SMTP server is not responding" this indicates your ISP has blocked the outgoing mail server port. If so, just click Continue (don't bother re-entering the Authentication information if it was blanked out).


For Outgoing Mail Security, make sure the settings are the same as above, then just click Continue.


At the account summary screen, click Create.

Changing Outgoing Mail Server Port

Many ISPs now block outgoing port 25 to reduce spam - if you got the "SMTP server is not responding" error, or if you have any trouble sending email, you'll have to change the outgoing mail server port.
To find out what ports are available, click here.

To change the port, under the Mail menu, select Preferences, then select the "Accounts" (@) tab.
Make sure your account is selected, then to the right of Outgoing Mail Server (SMTP), select the dropdown and select Edit Server List like this:


Make sure your outgoing mail server is selected, then click the Advanced tab. Change the Server port to one of the available server ports revealed by the port tester (26 or 2500 are common ones). Make sure Authentication is set to Password. The User Name should be your full email address, and Password should be set to the password for that email. This screen should look similar to this:

Click Ok, then close the Accounts dialog (making sure to Save if prompted), and you're done!


FAQ Main
HOME
Go back